different types of putties and procedure
Different
types of Putties and procedure
Almost everyone
who had to get their home painted knows of wall putty.
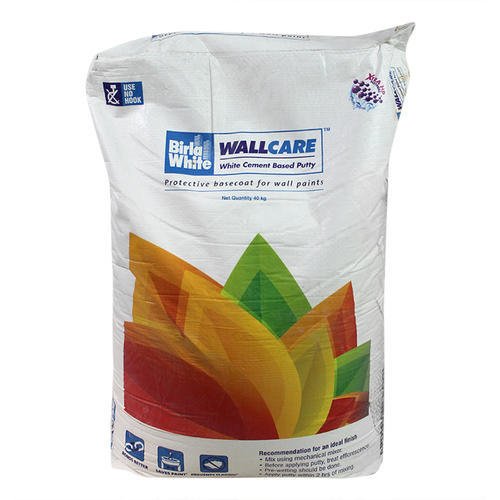
Wall putty is the white powdered substance that is applied to walls before painting.
It gives a
smooth finish and also brings out the colors of the paint which will be
eventually, be applied.
Applying wall
putty also reduces the quantity of paint that will be required.
It increases the
stability and durability of the painting job.
Wall putty also
functions as a filler for holes and cracks in the wall, which is the reason
behind the smooth finish that is obtained because of the application of the
putty.
It, thus,
creates an ideal base for the application of paint.
Also, it reduces water absorption, thus making the walls seepage less.
https://www.youtube.com/watch?v=sTPy_iwtHBI
https://www.youtube.com/watch?v=fwPE1I9y2p4&t=52s
https://www.youtube.com/watch?v=qXkL8tgYcSQ
Wall putty is of two types which are described below:
Acrylic putty: This kind of putty is available in
paste form and can be directly applied to the wall.
This is not for use for exterior finishes.
The strength is not as much as the cement.
Cement putty: This is the second kind of putty.
They are available in the powder and water is mixed at
the time of their usage.
They are more in demand these days, owing to the
quality that they provide.
They can be easily used in exterior works.
In surface
preparation, the key points to remember are: The surface that the putty will be applied
on should be plastered.
Proper
treatments should be done for dampness, fungus, or leakage problems on the wall.
The surface
should be clean before the application of putty.
There should be
any residual paints etc.
The loss of the material should be removed from the wall by using emery paper, wire brush, etc.
One can also
make use of a putty blade.
The surface should
be wiped out after this.
The wall should
then be moistened and dried before the application of putty.
While doing this
one must be careful about wetting the surface, as using excessive water could
result in the accumulation of water on the surface of the wall, which is highly undesirable.
If one is using
the acrylic putty, then there is no requirement of adding water as it would
already be in the paste form but if one is using the cement-based putty then
water has to be mixed.
For mixing the
putty, one should take the required quantity and add water in a ratio of 2:1 or
as prescribed by the manufacturer. The mixture should be stirred continuously
by hand or an electric mixer for about 10-15 minutes till a consistent, creamy paste is obtained.
The formation of
lumps should be avoided.
The mix should
be utilized within two hours.
After that, the
workability of the mix decreases and it would be difficult to apply it on the
wall.
One should check
the putty for manufacturer recommendation as some recommend the use of a primer
before application of putty, while some recommend afterward.
The putty should
be applied in a ‘bottom to top’ direction using a spatula, putty blade, or trowel.
The first coat should be allowed to dry and after that, the surface should be
rubbed with emery paper to remove loose particles.
Then the second
coat should be applied.
After
the surface is dry, sandpaper should be used to get a smooth finish.
Almost everyone who ever had to get their home painted knows of wall putty.
Easy Nirman Construction was Never Easy Before Us


No Comments yet ...